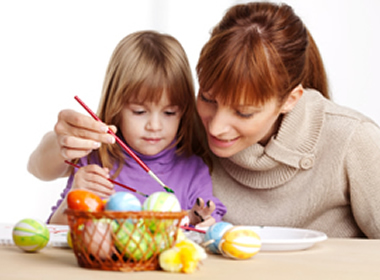
Decorating Easter eggs, in the days leading up to the holiday, is a great way to spark creativity in children while explaining the meanings of Easter. You can also explain that Easter celebrates spring, new beginnings and the explosion of colors that spring flowers bring.
There are thousands of ways to have fun decorating Easter eggs. From fancy kits to home made ideas and home made dyes. Make sure you check each idea for what type of egg is needed, most use cooled hard boiled eggs.
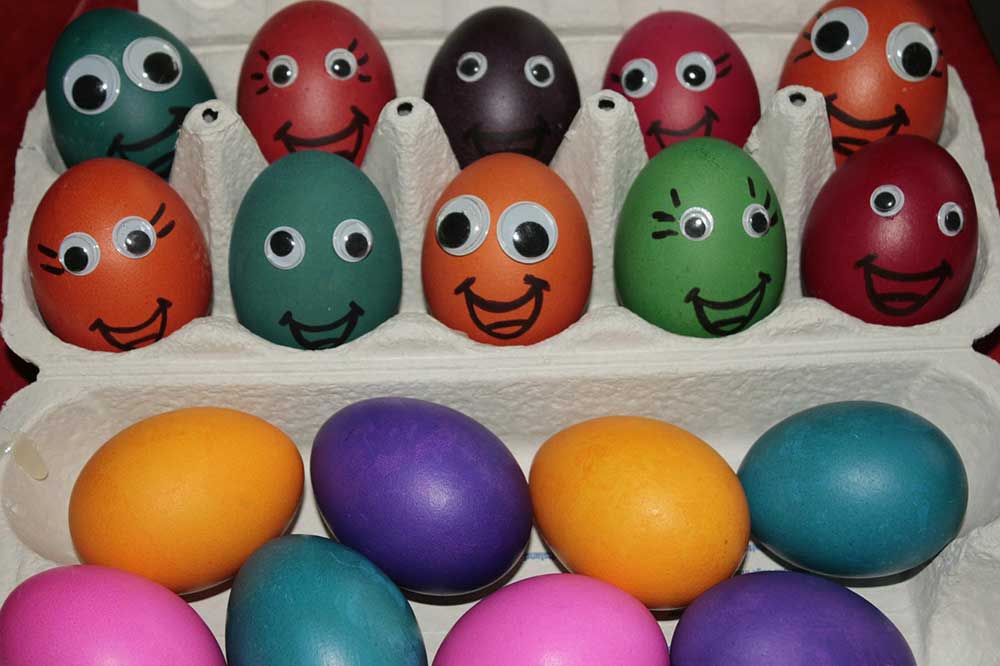
Different Ways of Decorating Eggs
Ringed / Striped Easter eggs are one of the easiest ways to make unique colored eggs. Make sure that you have three or more dyes ready to use. Purchase a packet of rubber bands. The best packs have rubber bands that are of random width and size. Smaller bands are best so that you can fit them over the eggs. Apply the bands, in several places, before you dip the eggs in to the first colored dye.
As you remove one or two of the bands, you place the eggs in new color. The varying color and changing width of the bands makes for interesting, fun and unique designs on each egg.
Patterned and sponged eggs are another fun and different way to color eggs at Easter. This method uses acrylic paint, even old worn out and mixed colored paint will do, a brush and some sponges. Use a brush to color the eggs with acrylic. Then use different types of sponges, the older the better, to dab white acrylic on top of the base color. This creates many different and random patterns.
Glitter textured Easter eggs are one of the best ways to prepare unique eggs for the holiday. Take some of that old white craft glue and dilute it with water. Have glitter, of various colors, in bowls for the kids to roll the eggs in. It is a great idea to have several bowls with complimentary colors mixed together. One bowl should be full of all colors mixed. As the eggs are rolled in the glitter they pick up the glitter. Once dried, these eggs are full of color and texture. This makes a very unique type of Easter egg that children really have fun making.
Pasta textured Easter eggs are fun, but can be a lot of work. We used mini farfalle pasta bows to glue on our eggs. In different years we tried different ways of using and coloring the pasta.
The way that worked best was to use vegetable colorings mixed with the pasta as it cooked. Then the pasta were dried on paper towels, after straining as much fluid away as possible.
Each tiny bow of pasta was then glued with craft glue to the egg. You can use any type of pasta or crack up dried pasta after cooking, to add variety to the textures. This method of decorating can be a longer term project, with a little done every day.
It takes a while for the glue to set between the applications of pasta. For that reason, it is a good daily art project, over the period of a week.
Postage stamp Easter eggs are a lot of fun. Giant packs of old, used postage stamps are easy and inexpensive to purchase. Children can dip old stamps in well diluted white craft glue and apply stamps in any manner they want. Some times you may find packets of used stamps that were all based on Easter. That type of stamp makes an interesting mix that even adults will find enjoyable to look at on the holiday.
No Dye Easter sticker eggs are fun and kids love them, because of their love of stickers. Let the kids use markers to color eggs if they wish. Then they apply stickers they chose with their parents. Each egg can have as many stickers as the child wants. This is a good way to do eggs without the mess of dye.
Eggshell Shells While everyone colours eggs at Easter, eggshells also make great material for a wide range of craft items. Hard boil a few eggs, then colour one each in red, green and yellow or make rainbow patterns. Allow to the eggs to dry, then break off the shell in chunks. Hard boiled eggs are the best ones to use for this activity. Now you’ve got a whole pile of coloured eggshell pieces.
Use spray adhesive to glue them to a nice wicker basket or apply them to a small piece of cloth cut in the shape of a vest for a doll. Another thought is to apply the coloured pieces to simulate miniature football shoulder pads or make tiny colourful shoes or a little hat for a bunny doll.
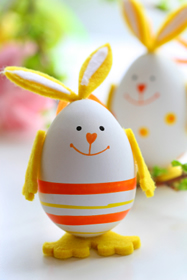
Hopefully, one of these ideas for decorating Easter eggs will allow you and your children to have hours of fun getting ready for the Easter holidays.
How to Cook a Hard Boil Egg for Decorating
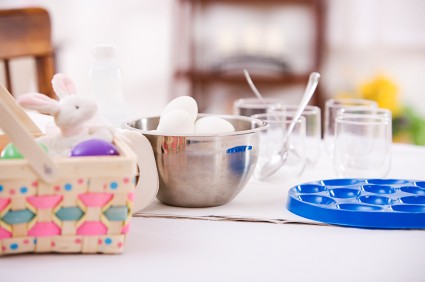
Decorating Easter eggs is an ancient tradition and is so much easier when your eggs are properly prepared. Eggs are however much less fragile to handle (especially for kids !) when they are hard boiled. Below is a list of the things you will need to carry out this simple procedure:
- A large pan
- Some vinegar
- A paint brush
- Some watercolours or dye
Place the desired number of eggs into cold water and put the saucepan on the stove. The water should just cover the eggs.
(Do not place your eggs in already boiling water. The temperature difference makes it very likely that the shell will crack.)
Add a teaspoon of white vinegar which will allow the dye to soak into the shell a little better, being sure to cover them more evenly and thoroughly.
As the water heats, the inside of the egg heats gradually, hardening the contents. Edible eggs are usually cooked in as little as five minutes. Eggs meant for decorating should be given a few extra minutes however don’t overcook them as that too can lead to cracking. Just cook them enough to make them extra firm to stand up well to handling.
Turn off the stove and allow the pan to cool gradually until both the water and eggs are room temperature. This takes about 20 to 25 minutes.
Remove the eggs carefully from the saucepan and place them gently into a bowl. Place the bowl into the refrigerator and let them harden further for at least one to one and a half hours.
Remove the bowl and let the eggs reach room temperature again. Now they are ready for decorating.
How to decorate a Hard Boiled Egg
Try a couple of the following ideas or think up some of your own. You may need items like paint brushes, water, glue and scissors.
- Acrylic Paint
- Sequins
- Food Dyes
- Felt tip pens
- Ribbons
- Glitter
- Coloured foil
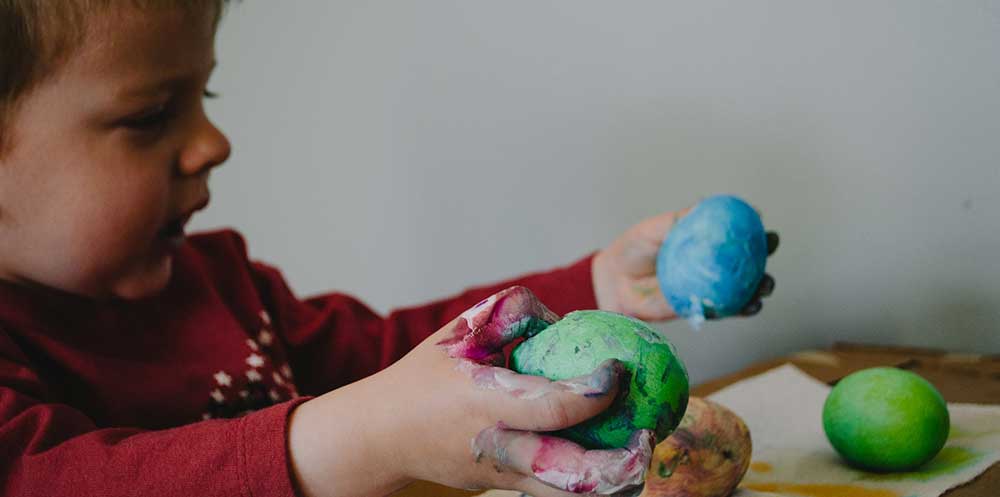
Color the hard boiled eggs
Use colored food dyes to color the hard boiled eggs, pat dry and then with a small knob of butter on a piece of baking paper rub gently over the surface of the egg to give a lovely finish. These eggs can be eaten any time of the day and make a healthy alternative to the chocolate easter egg.
A hard boiled egg can also be decorated with crayons, and then tinted with food coloring.
With colored crayons draw lines and patterns lightly over the surface surface of the egg. Place in a bowl of water with a few drops of food coloring and stand for 5 minutes. Drain on some absorbant paper and then pat dry.
Watercolour paint is one excellent way to paint the eggs with any design you want. The watercolour paint soaks into the shell very well. It may take several coats to get an even appearance, if that’s desired.
Dye kits
This is a very convenient way to decorate your eggs. Many have multiple colours, stencils and other drawing aids.
To make a solid colour
Place the egg into a small cup with the dye and let it sit for about 10 to 15 minutes. Remove the egg and allow to dry on a paper towel or cloth. You will want to throw out the cloth or reuse again only for Easter.
Using stencils
You can mask off and apply a number of different colours to a single egg. This can be done by placing stick on dots, and thick rubber bands too. Place eggs in food coloring and sit for a few minutes, take out and pat dry and peel off dots and take masking tape and rubberbands off.
Using Wax
Together with an adult, drip patterns of wax on your egg and then once the wax has set, put the egg in some dye. Once the egg has dried, gently peel the wax off and you will have some great patterns.